Pages

Thursday, April 7, 2016

Does It Work - Triangulations - CD Rom

A few years ago, I wrote a post that you can read here.  Triangle paper is a very quick way to make accurate half and quarter square triangles.  There are several brands on the market and I have used most of them and found them to be very accurate.

Not long ago, I was given the opportunity to test Triangulations CD Rom which allows a quilter to make many more sizes than are available on the market.  In addition, the latest version allows you to print your own quarter square triangles and also a version of flying geese called tamed geese.  Three shapes in one CD, not a bad deal at all.


While the Triangulations CD costs just under $30.00, you can print an unlimited number of sizes and types of triangles.  How cool is that? I have tried all of the versions and all work well., but I've concentrated on half-square triangles as that is the type I use the most.  I love that I can print an unlimited number any time I need triangle paper -- even the middle of the night or when I don't want to take the time to drive to a quilt shop to purchase the pre-printed variety.

Triangulations runs on any PC or Mac computer with Adobe Formatted to fit standard 8-1//2 x 11 computer paper.  You may purchase the CD at many quilt shops, or simply go to the company web site and order online.  Mine came very quickly and I was ready to print.  DO make sure you read the instructions carefully before printing.

Once printed, place your fabrics right sides together and pin the printed triangle paper on top being sure to pin where you won't be sewing.


Stitch on the lines as the instructions suggest.


And cut apart on the solid lines.


Notice that there is a printed line on each corner to aid in cutting off the dog ears prior to removing paper and pressing.


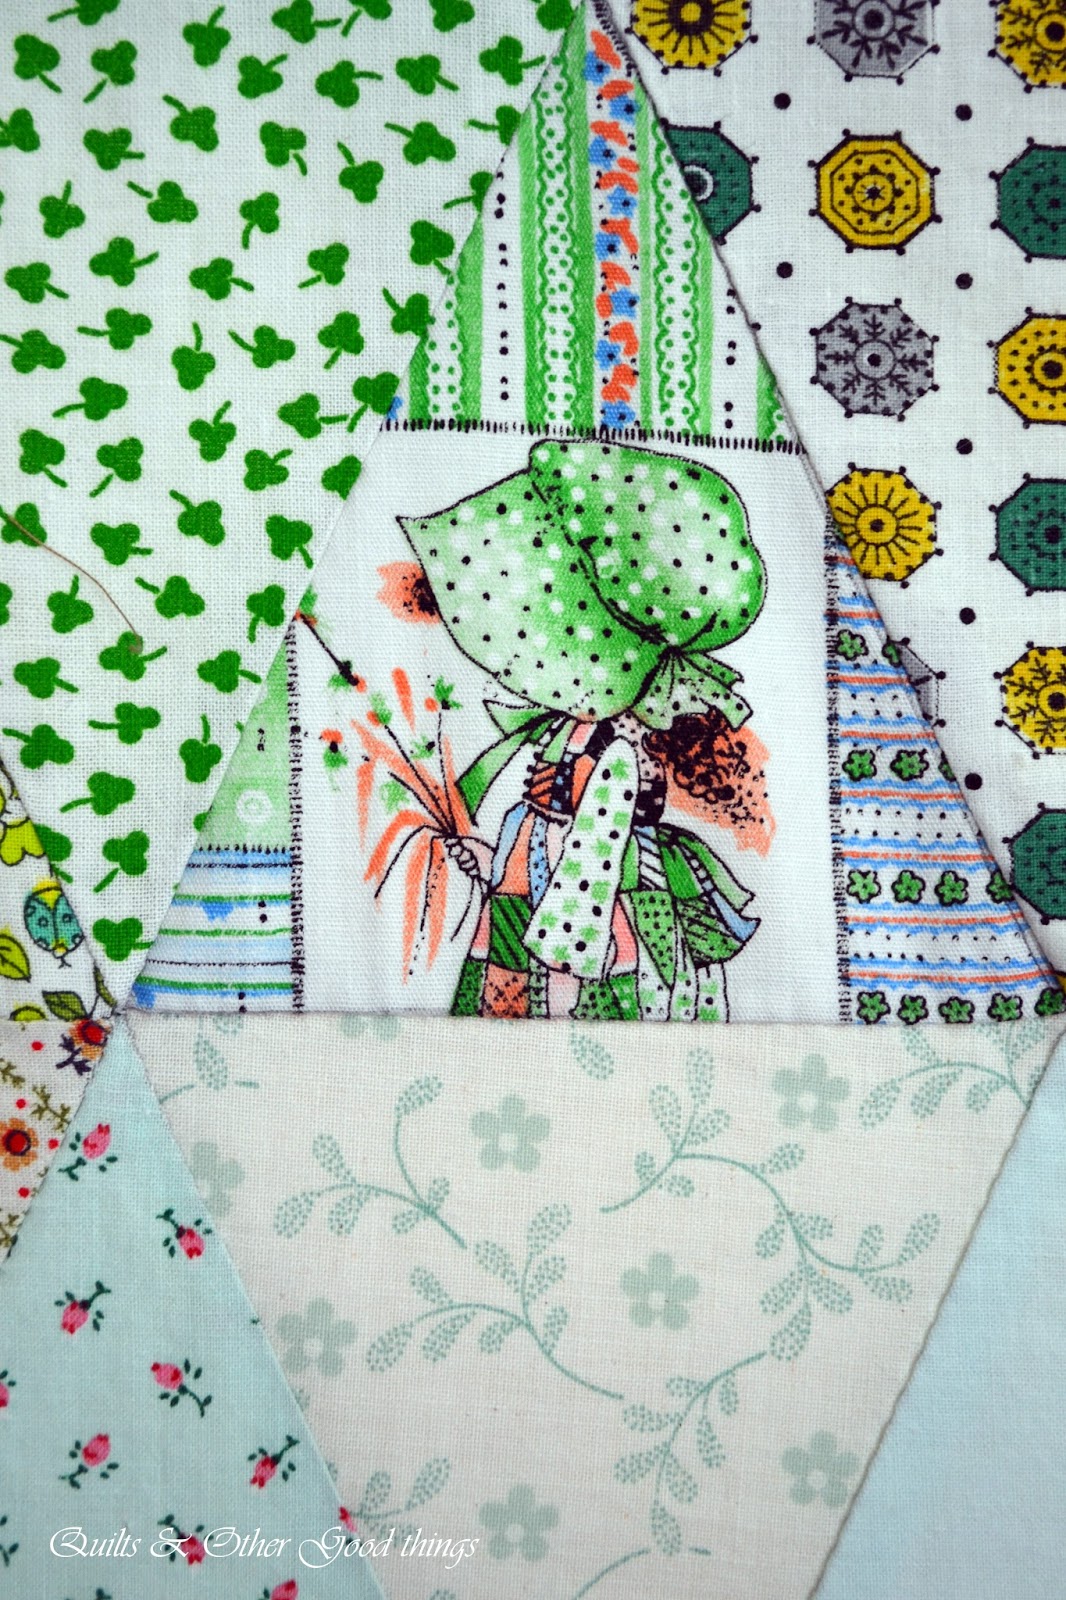
In this case, I printed paper that would give a 1-1/2" finished half-square, so the stitched and pressed unit needed to measure exactly 2".  As you can see, it was very accurate and worked just as the instructions said it would!  I love the accuracy that triangle paper produces.  It makes quilt making so much easier if all of the units measure exactly what they are supposed to!

I hope you will give Triangulations CD a try.  It will be money well spent.  The only draw back is the thickness of the computer paper, but when stitching with a shortened stitch length as instructed, it really is not hard to remove.  If this seems like a problem, simply purchase foundation papers that are not quite as firm a paper and are usually available at your local quilt shop.

I have no affiliation with Triangulations, I just wanted to let you know about a product that works well!  Triangulations has been on the market for some time now and has, I'm sure, been tested by other quilt makers, as well.


Until Next Time

xoxoXOXOxoxo

Lois


Saturday, March 19, 2016

Happy National Quilting Day!

Though I haven't written for a while, I really have been busy at the machine when possible.

Here is what I'm working on this week.  It is a super secret project, so am only showing you wnat is under my needle.  It is further along as I finished the all over quilting on 2 of the sections this week.


I've also made a few of these Foster Care Bags that our church ministry called Seams of Love has been working on.  Foster kids often leave their homes with their belongings in garbage bags if they even have anything they can take with them.  These bags will help them carry some of their essentials and give them a bit of dignity!


It is purely coincidental that both of these projects have a lot of blue and red in them!

Next time I'll tell you how these came to be and where I'm going with them.


You may remember that I started a 4-patch project at last year's Friend's Mini Retreat.

I'll tell you about my tumbler leader ender project then, too.  Here is a preview.


Hope you are having a super National Quilting Day and, yes, that is an actual day and it is always the 3rd Saturday in March.  Happy Quilting!


Until Next Time,
XOXOxoxoXOXO
Lois


Thursday, November 5, 2015

Does it Work? Best Press

One of the things I've done over the past few years that has been fun is testing products and writing articles about those tests for the Quilting Quarterly which is the member magazine for the National Quilting Association, Inc.

This is an updated version of the test I did on the product Mary Ellen's Best Press.


Starting with well-pressed fabric is essential for cutting accuracy. Some quilt makers simply use a steam iron.  Others spray their fabrics with water before pressing and still others like to use spray starch for a crisp finish.  Another choice is to use Mary Ellen's Best Press and yet another is to make your own "Best Press" using easily obtained ingredients.

Mary Ellen's Best Press promises to make ironing easier, smells wonderful, and there is no flaking even on dark fabrics.  It is non-clogging, acid-free, and leaves no residue, relaxes stubborn wrinkles while giving clothes a crisp, new finish. It makes clothes soil resistant, makes fabric look brand new and does not attract bugs.

As a confirmed starch user, I was skeptical.  However, I had not been happy with the starch flaking on dark fabrics, so gave Best Press a try.  I purchased the 16 oz. spray bottle at a cost of about $7.95.  There are other sizes and costs may vary depending on where you buy the product.  I used a 30% off coupon at a local quilt shop so that did reduce the cost a big.

I sprayed the product on dark fabric and pressed using the cotton setting.  Here is the result.


No flakes!  I was impressed!

The same fabric sprayed with a commercial spray starch looked like this after pressing.


Though the starch product I used has a statement on the can that says flaking can be avoided by allowing the starch to be absorbed by the fabric before pressing, I have had mixed results when doing so.  Still, I love the crispness that starch gives, so I do continue to use starch for some things.

It wasn't long after this that a friend told me that there was a formula for making a product that mimics Best Press using 3 oz. of vodka, 1 teaspoon of essential oil fragrance and mixing with 24 oz. of distilled water.  I tried it and it did work as well as the commercial Best Press, so I was hooked on that.  It was far cheaper and worked as well, so who could beat that, I thought.

And then, I did beat that.  I experimented with adding a bit of liquid starch to the vodka and water mixture until I had just the amount I felt produced the best results.  I now add 1/2 cup of liquid starch each time I make this home made version and love the results.


The original maker of this stated that she used potato vodka, but I really just buy the cheapest brand I can find and it works just fine.  The essential oil fragrance I've purchased at WalMart and find it with the candles.  The Dollar Tree stores also sell essential oil fragrance and it is found with the candles there as well, though their bottle is a bit smaller, it costs only a dollar!  I prefer the lavender fragrance, but any would do.

I will add my own caution -- I do not guarantee that you will have success, but two of my friends and I use this formula all of the time.  Try it once and if you would rather pay more for the commercial product, by all means, do so.

Now for the starch lovers, like me, I still use spray starch for some things.  When I want something very crisp, I use spray starch that I make myself.  The directions were on the bottle of liquid starch I purchased.  I mix the starch half and half with water for a pretty stiff result when pressed.  If you want less stiffness, just use less liquid starch.


It works for me! Give it a try and you might change the way you press fabrics. You may save some money and be able to buy more fabric so it's a win/wing situation!  Let me know what you think! If you have any questions, please just leave a comment to ask.

I will tell you that I was criticized for mentioning that starch flakes.  It says so on the container, so I feel no guilt in making that statement.  I still like starch and use it, I'm just very careful with the dark fabrics just like I was before and sometimes, it still flakes!

Until next time,

xoxoXOXOxoxo

Lois


Monday, October 19, 2015

Autumn Chains is in The Final Issue of QQ

For the past few years, I have been fortunate to write an article called "Does It Work?" for the Quilting Quarterly which is the member magazine for the National Quilting Association.  In addition, two of my quilt patterns have been featured.

Recently, the NQA announced that it is disbanding, so the Fall 2015 issue is the final one to be published.


For the first couple of years, the "Does It Work?" articles featured products that I tested and reported the results of the test.  It was fun and I learned a lot.  The last two years, I have worked with a panel of 6 quilters from across the United States to do the testing, reporting their results to me. Then I compiled the results of the 6 testers into an article combining the comments from the testers.  Some times they agreed and sometimes they did not which made it very interesting. It was fun to work with these 6 quilters and get to know them through our correspondence as I had only met one of them in person.

Barbara Polston, a talented quilter in her own right has been the editor of the QQ for several years and was a delight to work with. Click on her name to go to her web site and see the exciting things she is doing.

The final issue of the magazine contains the last "Does It Work?" article. Our testers reported on basting glues.


This final issue also features my pattern Autumn Chains.  This quilt is a scrap quilt as most of mine are and is based on Single Irish Chain, a traditional block.  This past weekend, Autumn Chains started living on my bed for the next couple of months for that Fall feeling in the room.


You may remember that I began this quilt at one of the mini retreats at my friend's cottage in the woods a while back. You can see some of the progress here.  You may notice a glimpse of the quilting here.  The back is pieced and I shared that with you here.


The blocks are on point, so the setting triangles to complete each row are made up of half blocks giving the illusion of a border before the final border.  It is a huge quilt -- 100" x 100" and was quilted on my Bernina.  Huge quilts seem to be my default and are not easy to quilt on a domestic machine!


This photo was taken when the quilt was on the guest room bed.

While I am sad to see the end of the National Quilting Association and the opportunity to write articles for the Quilting Quarterly, it does mean that I can pursue other avenues of quilting and writing.  I do plan to start sharing with you some "Does It Work?" articles.  Some may be things I've already tested and I'm thinking of some other products that I might like to test and report on to you.

It is finally cooler in Arizona this week, meaning it's under 100 degrees, so let the Autumn begin even if it's later than the rest of the country!

Until Next Time

xoxoXOXOxoxo

Lois


Thursday, July 23, 2015

Quilting Friends Retreat - 2015

My friend, Joyce, e-mailed me to tell me that my middle name is trouble.  She went on to say that last year at our 2014 retreat to her "cabin in the woods", I introduced her and friend Diane to hexie punches and showed them how to make hexies.  We are ALL now making English paper pieced hexie quilts.  Yep, I did that. 

This year, I bought them each a ruler and showed how they could cut tumbler shapes with it.  I had already been making these tumbler shapes for a quilt.  Yep, hooked them again.  By the end of the three days together, Joyce had already cut each of us 300 2-1/2" squares and we had decided each of us would exchange 300 squares with each other to make commemorative quilts to celebrate our 30th year as friends which happens in 2016.  We had been talking about exchanging New York Beauty blocks - making 10 each so we would each have 30 blocks.  Now, isn't cutting 2-1/2" squares easier?


You can see some of the strips of 4 tumblers in between the boxes that hold the parts and pieces to the quilt I was working on there.  One of those boxes holds the squares for the tumblers. I have to thank Bonnie Hunter for choosing the tumbler block for the leader/ender challenge for the year.  You can read about it here in case you would like to join in the tumbler fun. I also need to thank cousin Sheila who gifted me with a tumbler ruler along with her stash several months ago.


During the 3 days I finished putting together 444 four-patch blocks.  I had about a lot of them all done and the rest were pairs that just needed the final seams.  Then I started adding the half-square triangles to make them into square in a square blocks. This project was found in the April issue of American Patchwork and Quilting magazine.  I just could not get that quilt out of my mind. Usually I don't do projects from magazines, but that one just appealed to me.


After she completed the machine binding on 5 -- yes 5 charity quilts, she brought out this beauty to work on. I wish I had photographed the charity quilts before she packed them up. She had also done the long arm machine quilting on the jelly roll quilts as well as the binding.


After completing the units she was working on for her bow tie quilt, Joyce started joining the blocks that will be the borders of her Civil War quilt.  These blocks are much smaller than they appear in this photo and the quilt is to die for!  Did I mention that my friends are very talented quilters?  You may have noticed that we all love the scrappy look in our quilts.

Our retreats are fun as well as productive.  We take turns making the meals so no one has to spend all of their time cooking.  It rained every day which may not sound like fun to you, but for Diane and I who live where 100 plus days are the norm, retreating to Joyce's cabin where it rains and the high during the day is in the 70's, well, it was refreshing! We sewed and slept with a breeze coming in the open windows!

I hope you have been having some sewing and quilting fun this Summer!

Until Next time,

xoxoXOXOxoxo

Lois

Thursday, June 18, 2015

Thousand Pyramids - The 30 Year Wonder Qluilt

According to my research, the Great Pyramid took about 20 years to build.  This quilt top took about 30 years from concept to last row joined.  Hmmm, maybe not so bad considering there are actually 1,175 pyramids in this charm quilt.

I think there were five of us who did an exchange that took about 18 months.  We had 4 templates (2 people used the same template).  We planned to exchange 10 fabrics a month in a particular color family.  Each of us drew around the templates and cut out the shapes with 1/4" seam allowances for hand piecing., Fifty quilt pieces were made and exchanged each month.  We were loose on the color families - red meant anything from deep burgundy to the lightest pink, blue was navy to pale blue, etc. Colors like rust might fit in either the orange or brown category.

The templates included a half-square triangle which was used by two quilters.  One (our East Coast native) used a clam shell, one shape was a diamond and then there was mine that was a pyramid shape.

I moved cross country during the exchange and found that 10 of the fabric shapes could be sent in a #10 envelope for the price of a first class stamp, so each month, I continued to send my shapes to each of the others and they sent theirs to me.


A little Amish Influence.

All types of fabrics were exchanged.  There are a few that probably  aren't the best quality and maybe should have been left out, but our stashes weren't as big back then.


Christmas fabrics including a fussy cut Christmas bear were exchanged.


Even a vintage Holly Hobby fabric made it into the top. Notice that it is next to an Irish clover leaf.


There is even an "A" for Arnold in the top.

There may be a point or two that need to be "fixed" or maybe they will be left in even if they are slightly off.  Maybe it's more important to have this quilt done and quilted than it is to have it be perfectly pieced after 30 years or so!

One of the neatest things about the fabric is that even though the original exchange was with a small group of dear friends in Iowa, as I was finishing the quilt, I needed more fabric to make it large enough.  Of course, I used some of my newer stash, but I still needed unique fabrics in some colors, so asked two of my dear Arizona friends if they would contribute the colors I needed and they did!  So this quilt includes fabrics from not only over time, but from more friends than the original group.  
Isn't that part of the culture of quilting?  Neighbors exchanged fabrics, friends contributed fabrics to fill a need and relatives shared their stash.  Today just like in the past, these traditions continue and I'm very happy they do, aren't you?

Here's to Quilting Traditions!

xoxoXOXOxoxo

Lois


Monday, June 15, 2015

Leaders Enders and Leftovers

If you are familiar with Bonnie Hunter and her scrap savers system, you probably know about Leaders and Enders.  She came up with the brilliant plan to use quilt pieces to begin and end rows of stitching rather than putting just a scrap under the presser foot to keep all those thread tails controlled.  It saves thread and the bonus is that parts of another quilt are being put together while you are working on your current project.

Many times I just feed squares through that become either 4-patch or 9-patch units if I don't have a particular Leader Ender project going.  These add up quickly!

This weekend I was playing with some Leaders and Enders along with some Leftovers from a past quilt project that I had made too many units.  I needed a class sample so I started playing first in Electric Quilt and came up with these possibilities using the units I already had on hand - yep, those Leaders Enders and Leftovers.


These were fun to play with!  Do you EQ?

Then I got out the units and laid them out on the floor.  This may not be the final setting.  Nothing is sewn together yet, I just wanted to make sure I liked this as much in fabric as I did in EQ.


So what do you think?  In a matter of minutes, this little wall hanging was laid out.  Yep, it's pretty scrappy, but the dark blue triangles and "stop border" hold it together.  I may still rearrange a few units to balance the colors.  Just a few of the 4-patches and leftover half/square triangles are laying beside it.  There are MANY more waiting to be used in a project.  I think the beginning students will have fun learning how to make this little cutie.

Mostly I have been working on a secret project that I can't show you until it is done, but I have spent a bit of time setting the 1,000 Pyramids 30 Year Wonder Quilt together.  I have only two long seams left and it will be a top.  This photo was taken when I was just starting to set the blocks together. I'll take another photo when the last two seams are sewn and share it with you.


Just the top two rows of blocks had been stitched at this point.  All of the small triangles were hand stitched, but I am sewing the blocks and rows together on the machine. I want this baby done!

Hope you are keeping cool this Summer and having some time to create!

Until next time,

xoxoXOXOxoxo

Lois